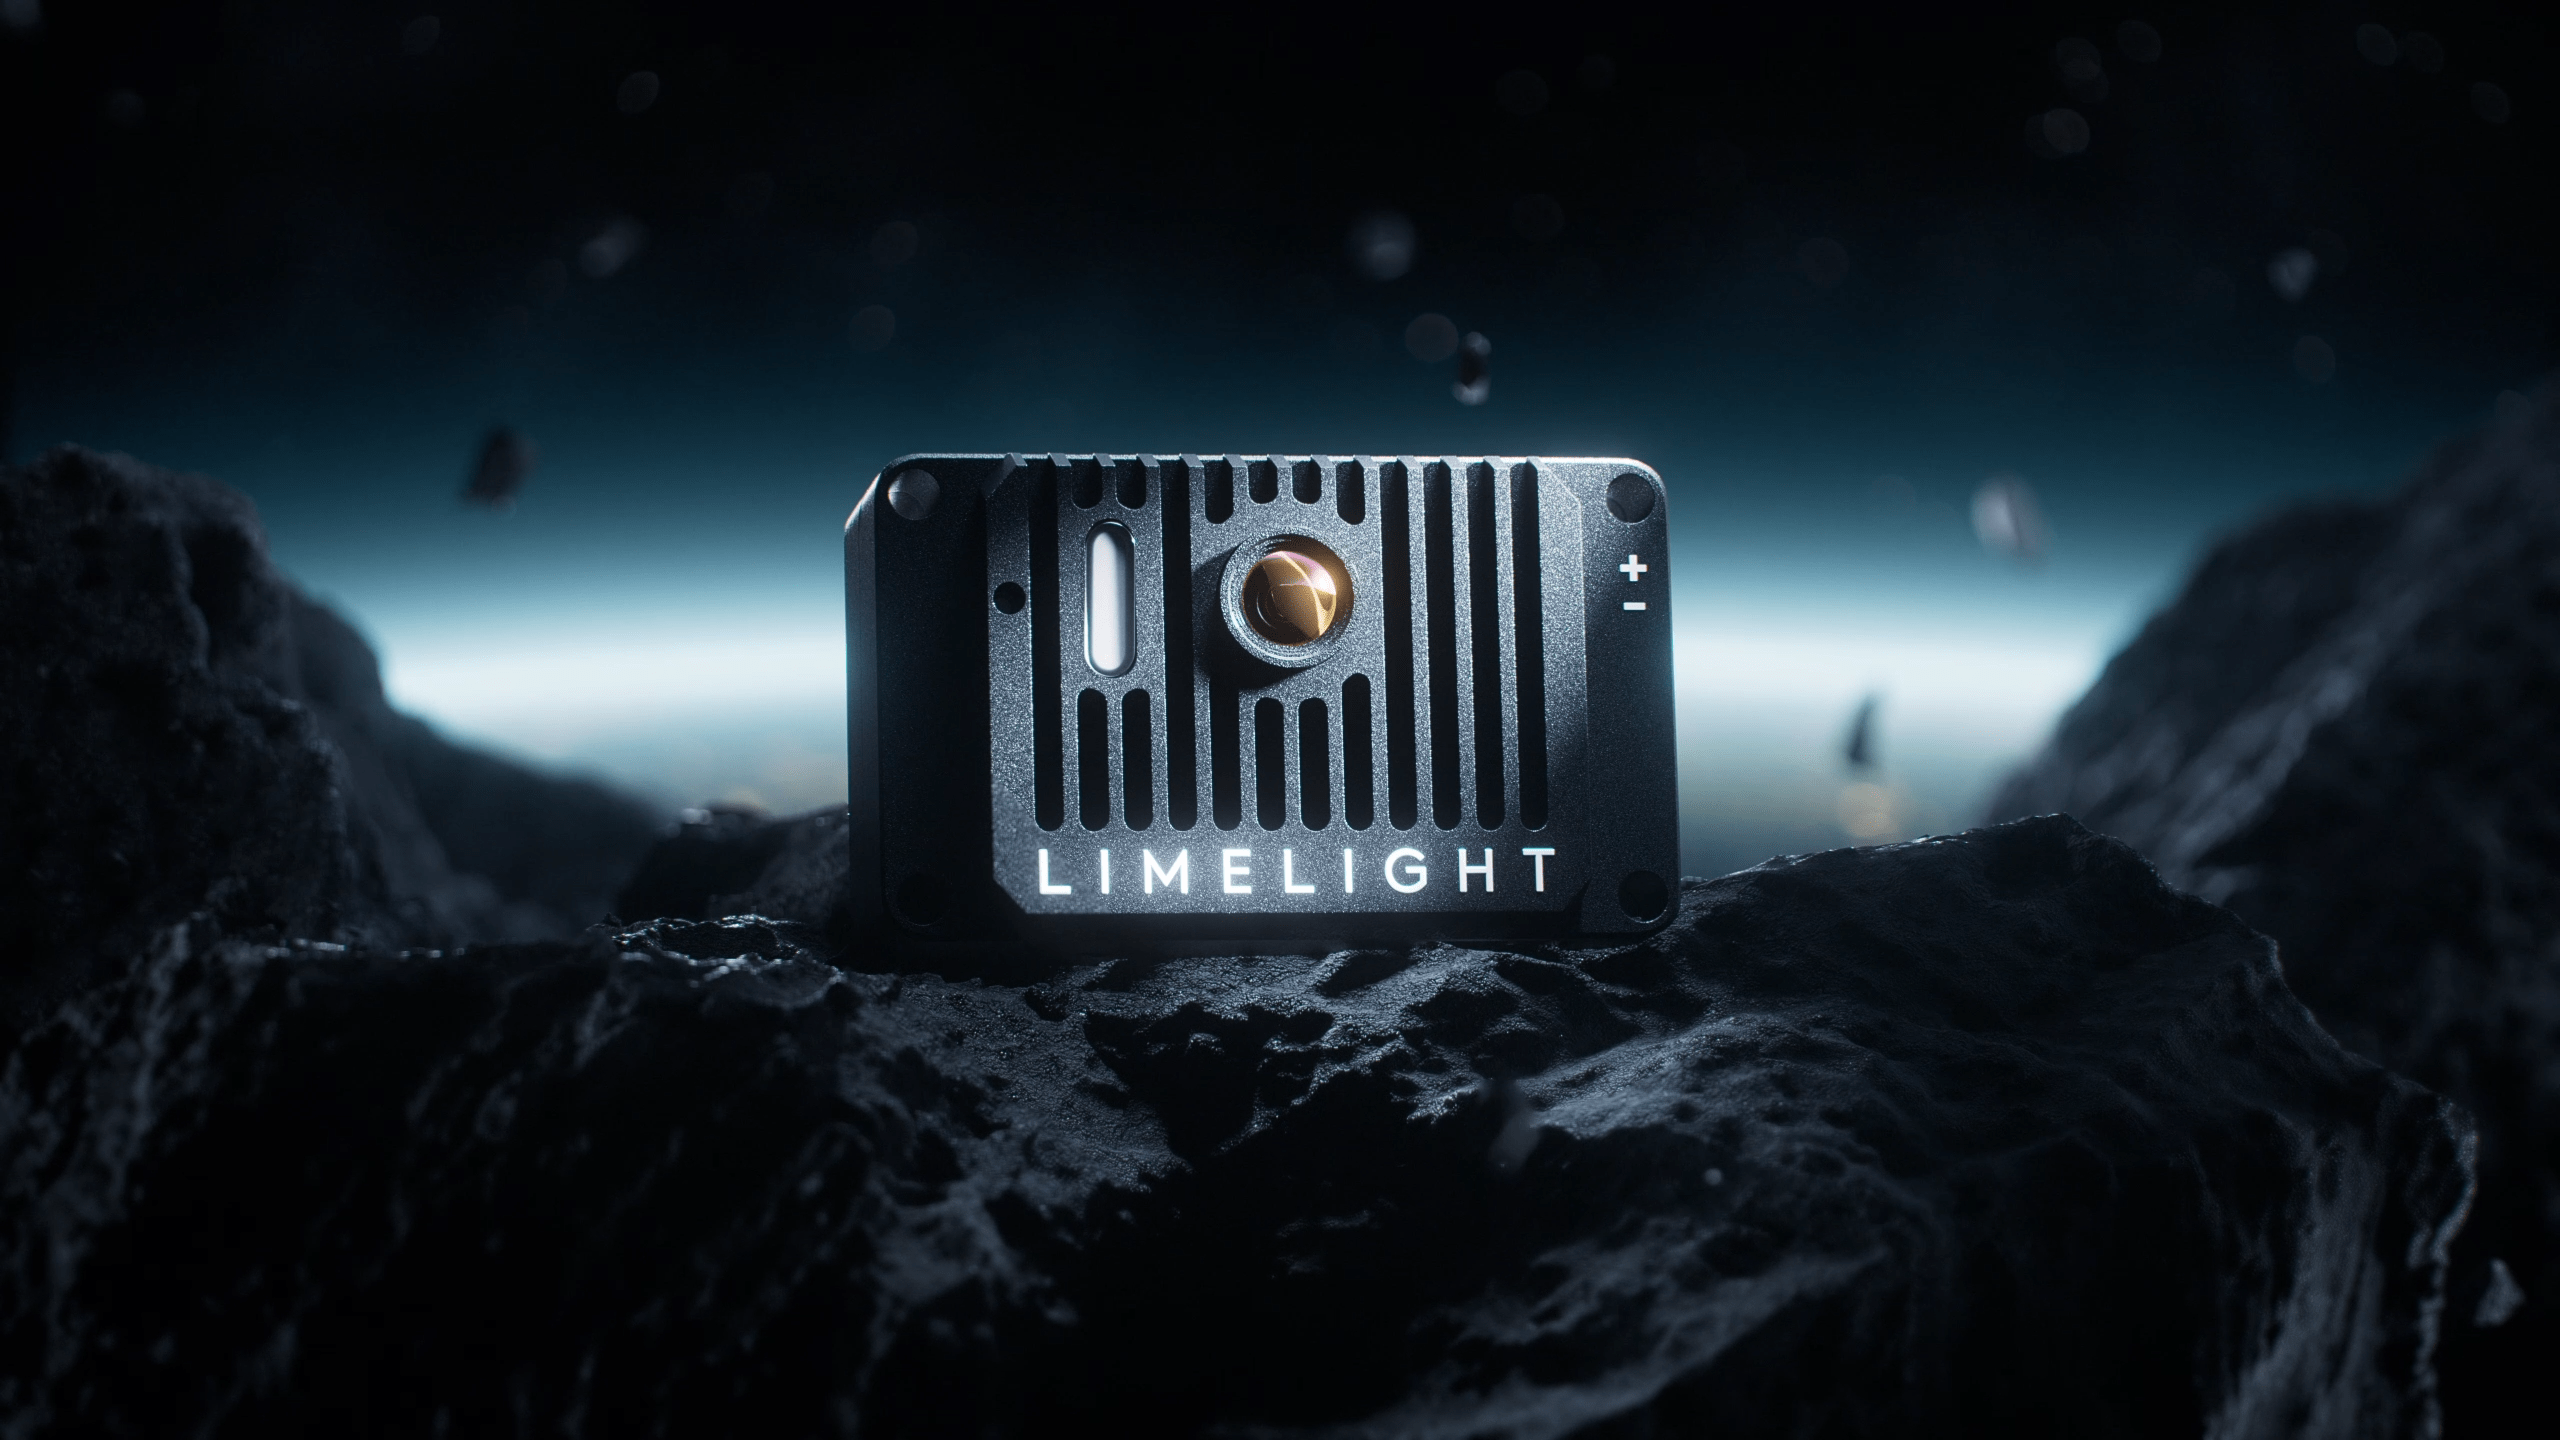
Limelight 4
Twice as fast as Limelight 3G out of the box. Supports 26TOPS of Hailo-8 acceleration.
An integrated IMU is fused for ultra stable robot localization with AprilTags.
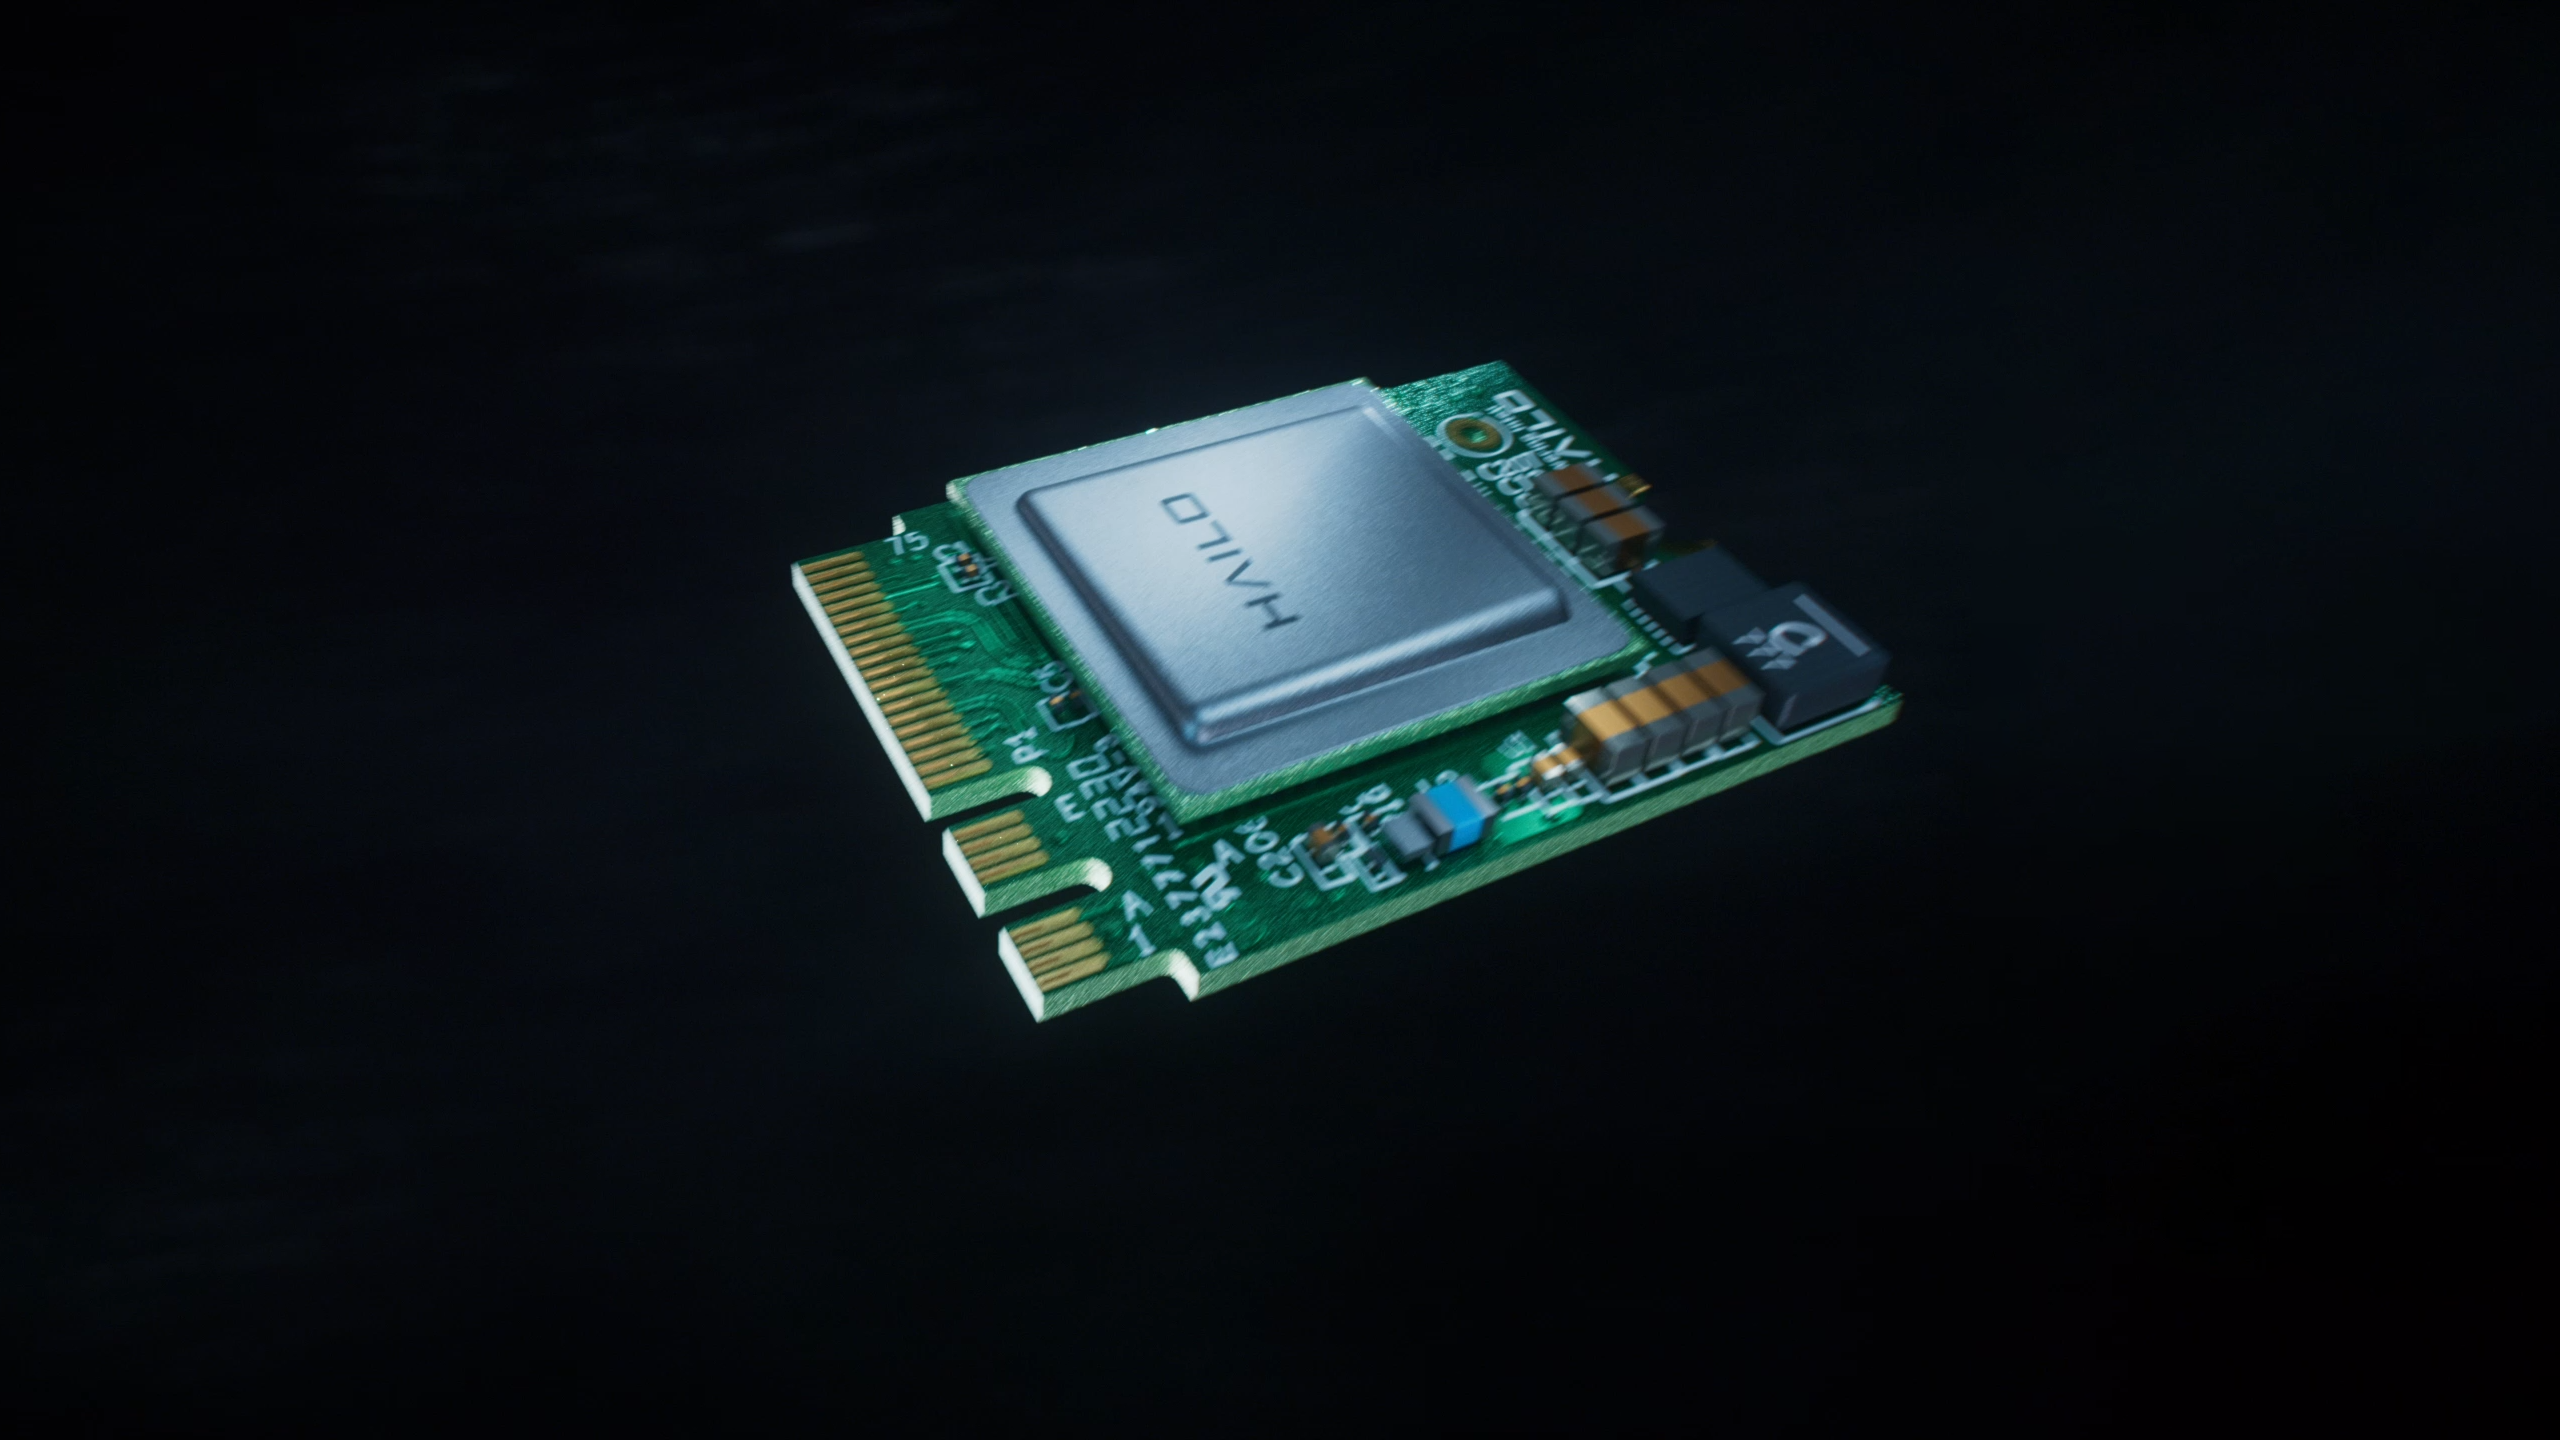
Hailo-8 Upgrade Kit for LL4
Add 26TOPS of Inference compute to your Limelight 4 for accelerated robot localization and object tracking. Special, Limit pricing for use within Limelight 4 for educational purposes.
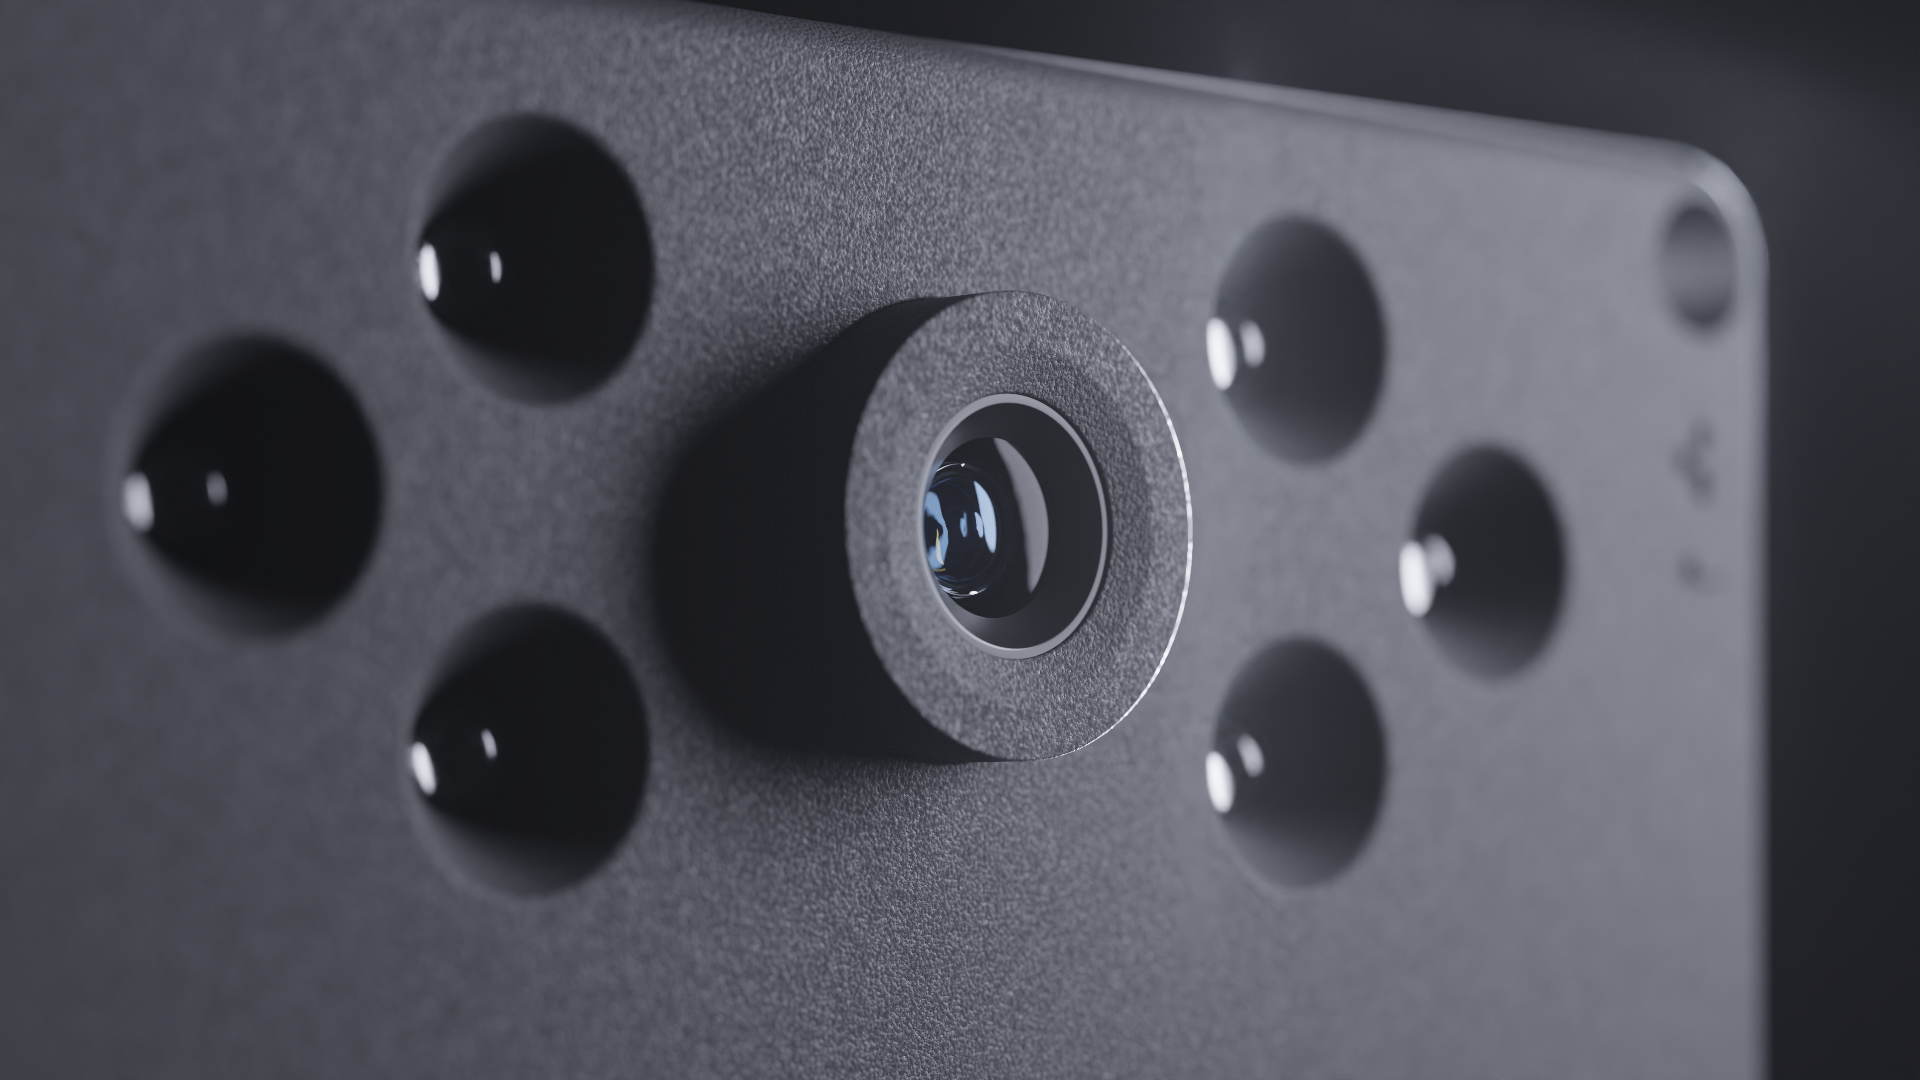
Limelight 3G
Up to 240FPS Monochrome Global Shutter. All-metal. Perfect for 3D AprilTag-based robot localization.
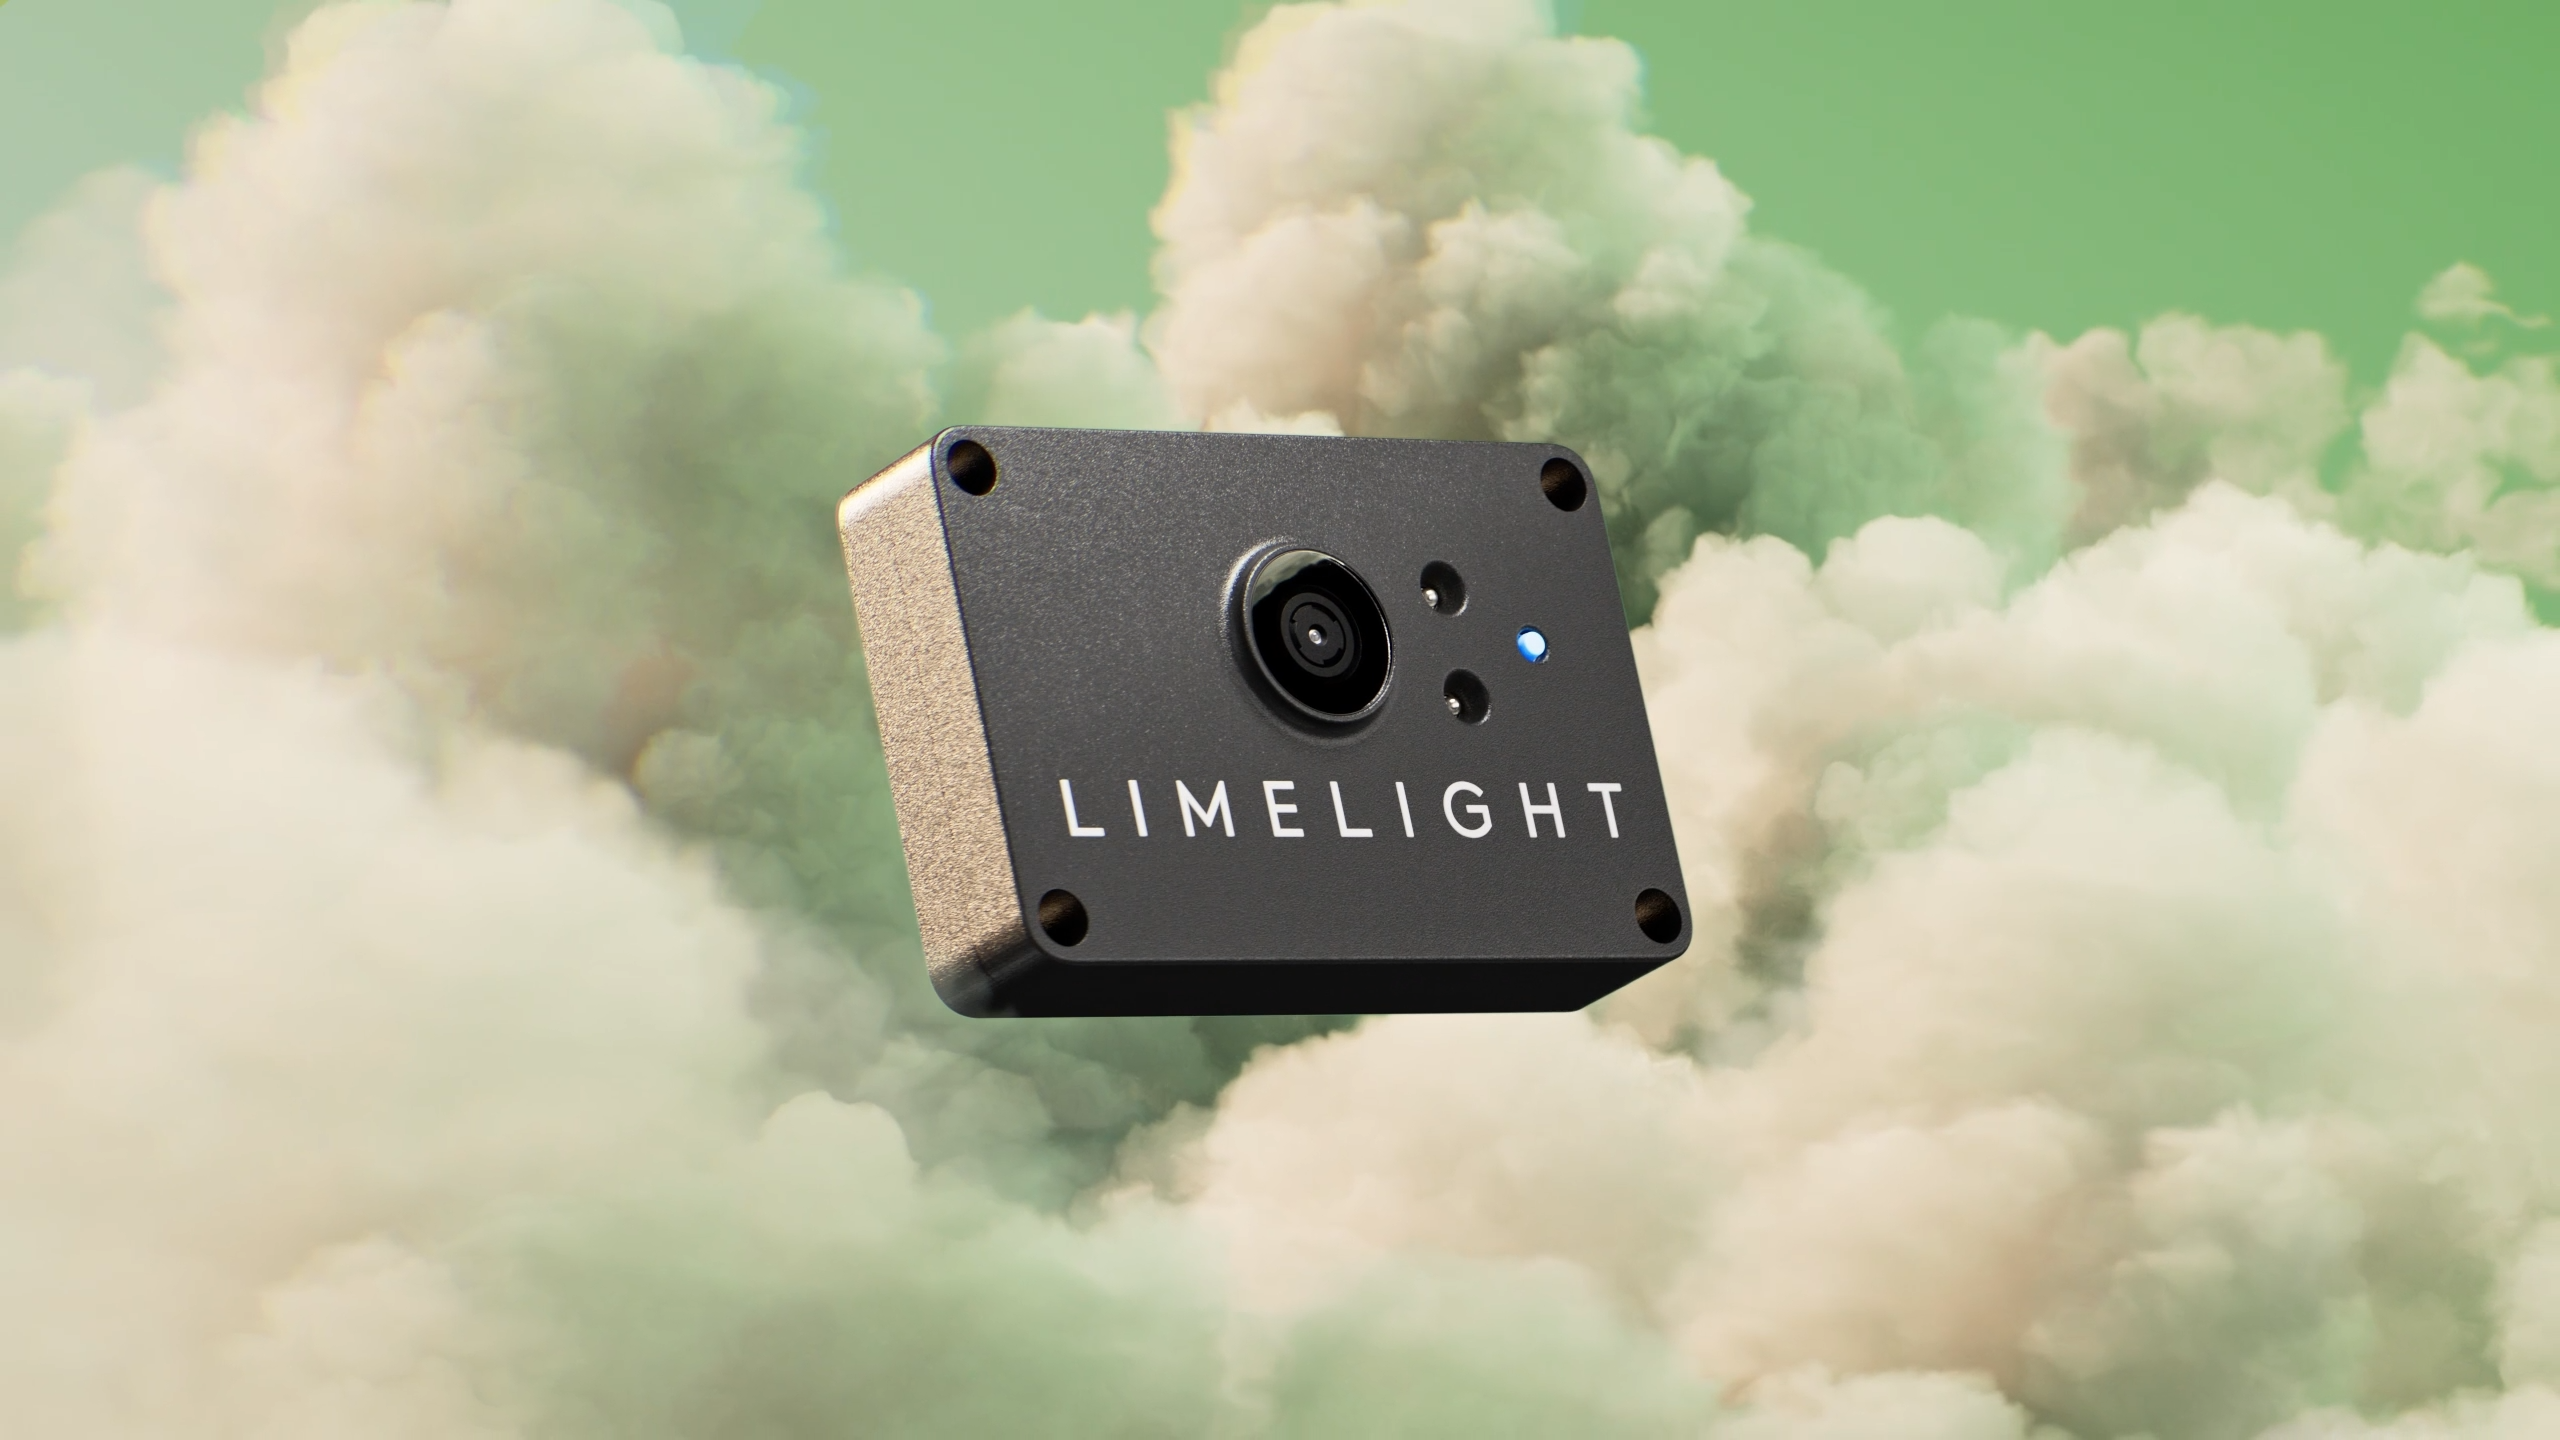
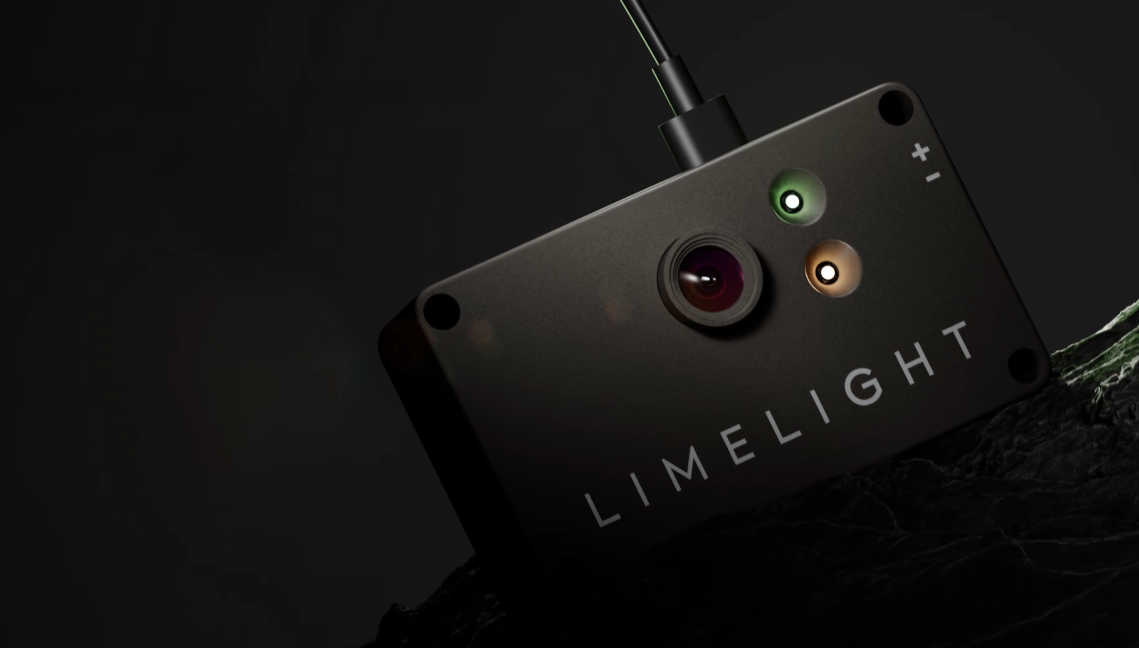
Limelight 3A
The first plug-and-play USB Smart Camera. Great for 90FPS servoing, AprilTag localization, CPU Neural Network inference, and more. Compatible with FTC, FRC, and ROS control systems.
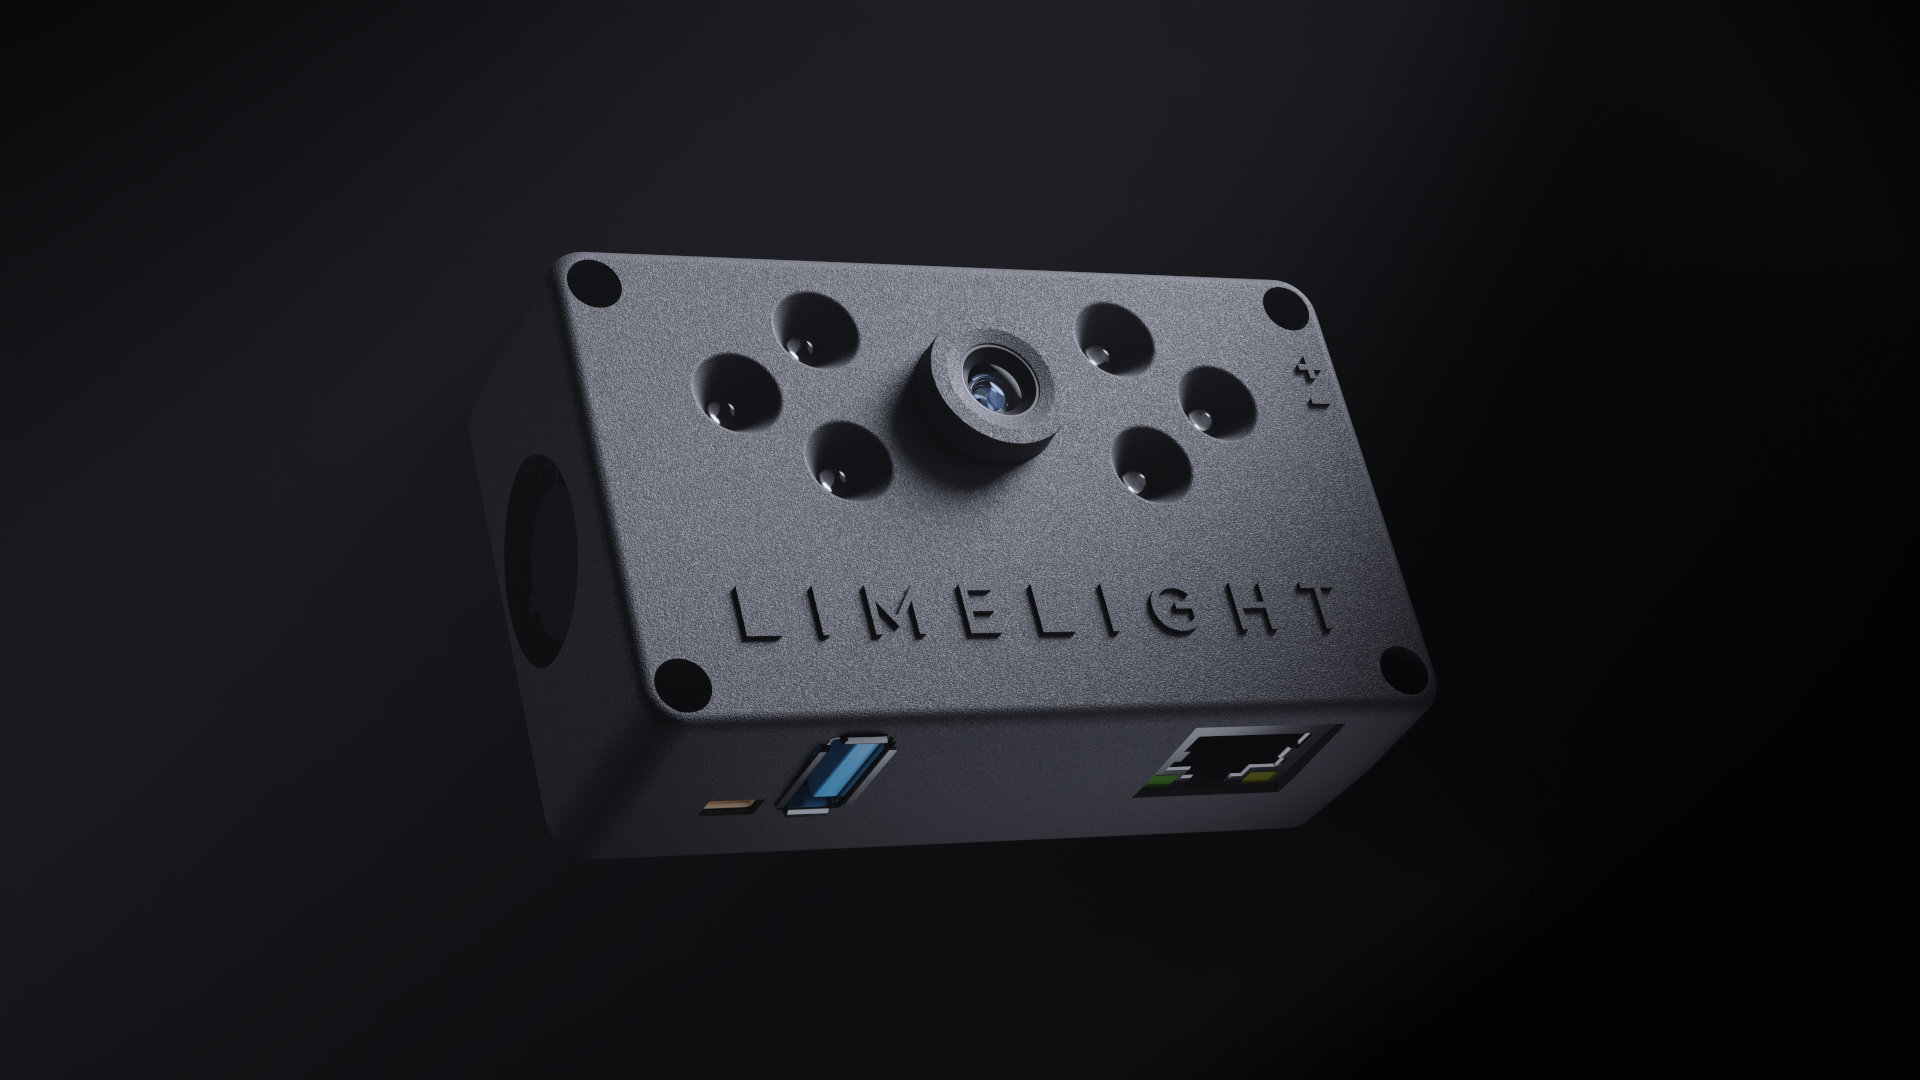
Vision Has Never Been Easier
Limelight is easy enough for teams with zero software expertise, and powerful enough for elite teams in need of a high-reliability vision solution. Plug-in, configure with the built-in web interface or a few lines of code, and you're good to go.
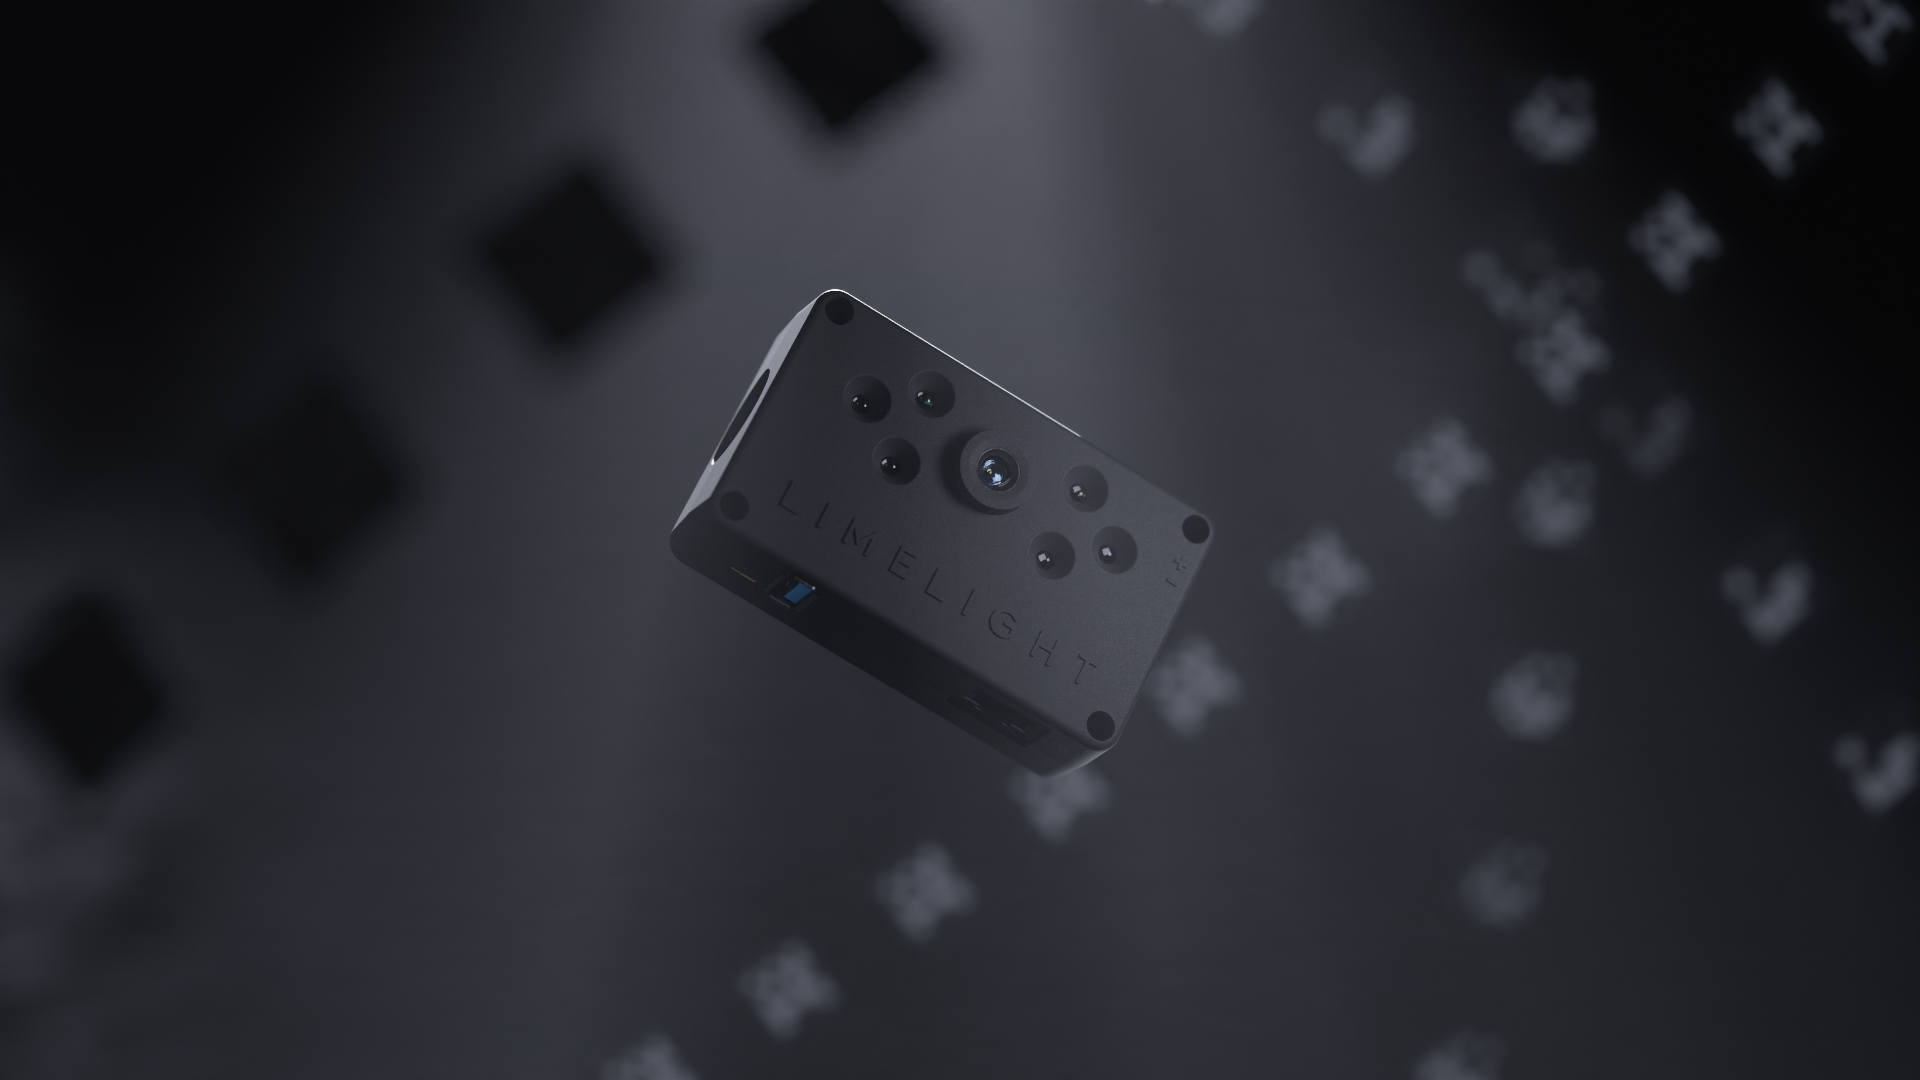
Powerful, Versatile, and Reliable
Get up-and-running in minutes with integrated vision pipelines and cross-platform libraries. Limelight's backend has been battle-tested on tens of thousands of robots and within industrial settings.




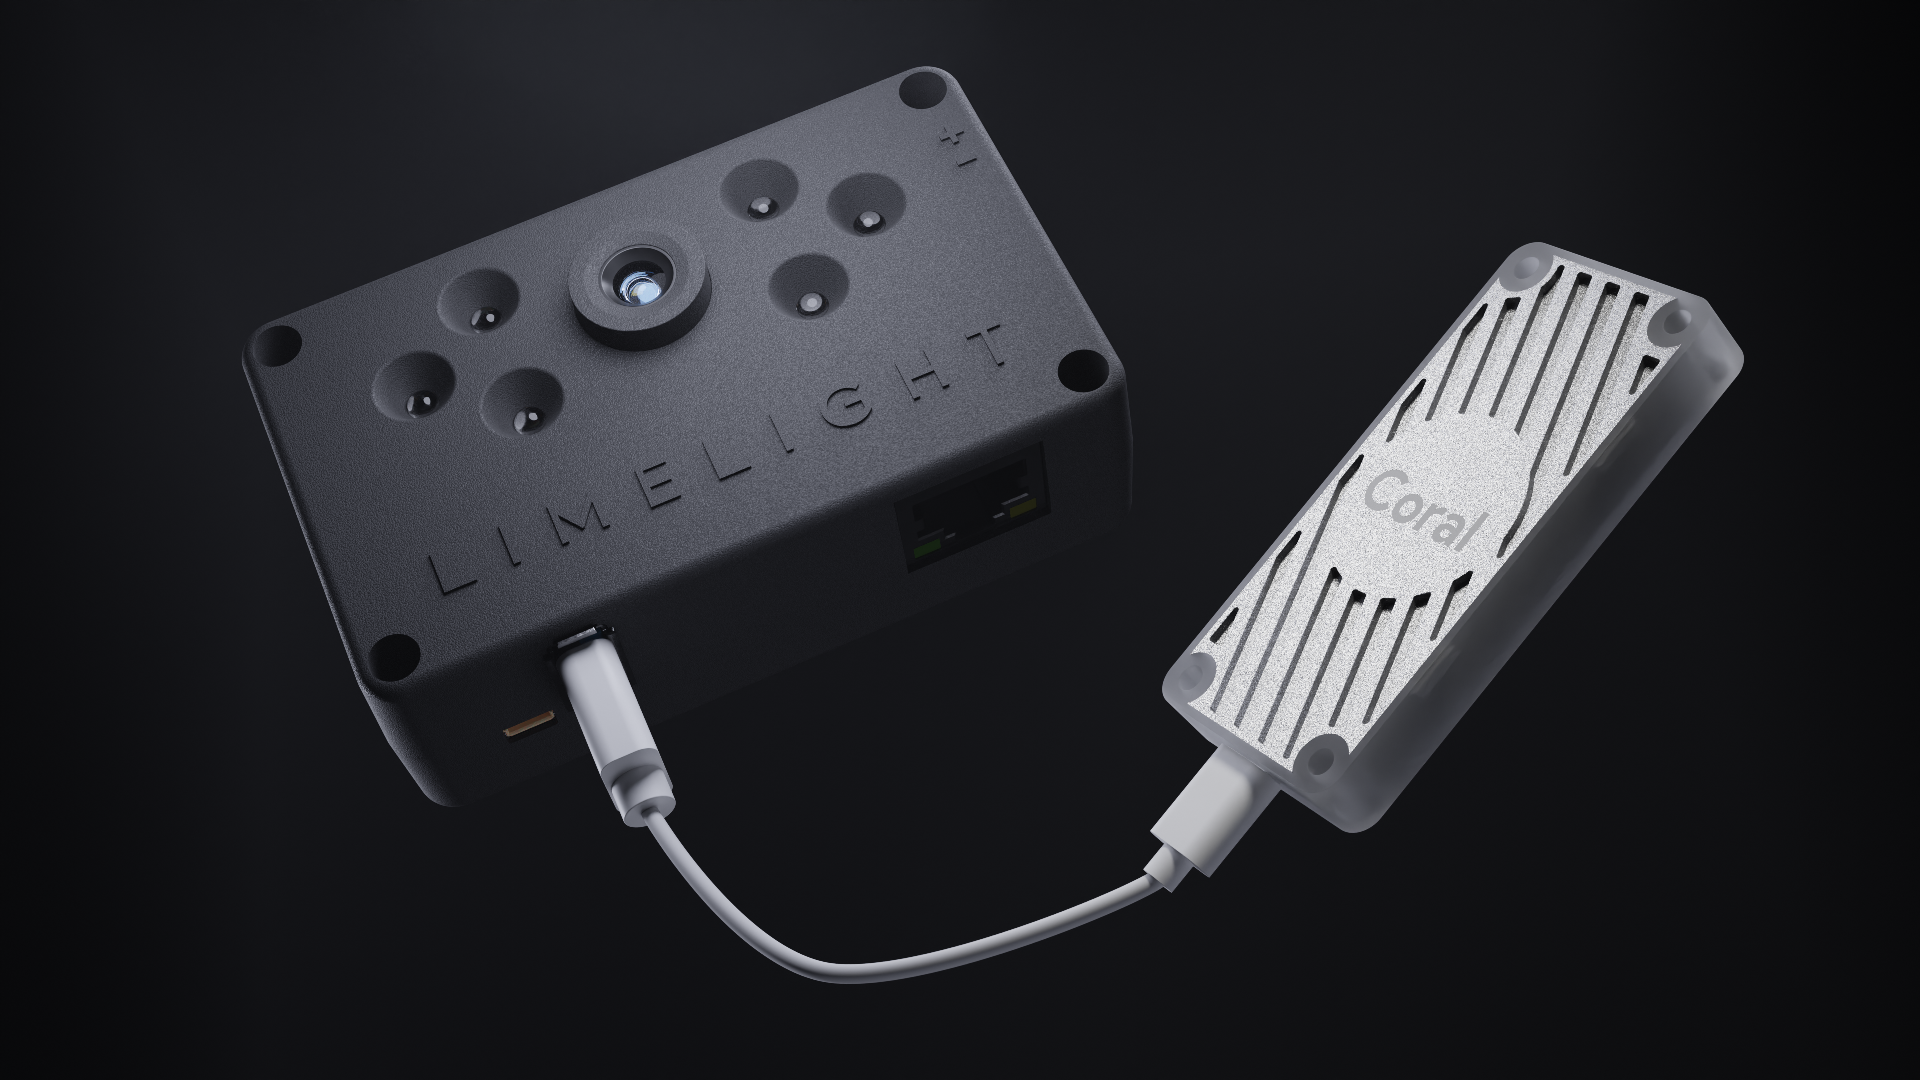
Zero-Code Neural Networks and AprilTags
Limelight supports CPU and Google Coral inference for real-time object detection and image classification. Use our open-source neural network training tools to build your own models.
Enable Full 3D AprilTag tracking with one click.
3D Localization
Utilize the MegaTag1 and IMU-Fused MegaTag2 robot localization algorithms alongside the Limelight Map Builder to localize your robot in full 3D with AprilTags.
Python SnapScript Pipelines
Write or upload your own Python pipelines with the power of openCV, numpy, AprilTag3, and other libraries. Generate pipelines with the LLM-powered SnapScript generator.
The Limelight is simple and reliable, and compared to any other solution we tried it was extremely easy to use.
FRC Team 1574
Plugged it in and it just worked. Very easy to tune. Felt like cheating compared to what we had been doing.
FRC Team 686
